
Hand Lettered Baby Monthly Milestones

It all started when a sweet new baby boy arrived to the family! I wanted to gift a set of these personalized acrylics for baby monthly photos, and I knew that my Cricut would be my BFF for this fun project!
Grab your materials and follow along with these easy steps! I promise I break it down so simple that you can make these as your very first Cricut project! Let’s get started!
What You’ll Need:
Acrylic discs (I used these 4” ones like these)
Cricut cutting machine (I have this one!)
Hand lettered designs (grab mine in Etsy!)
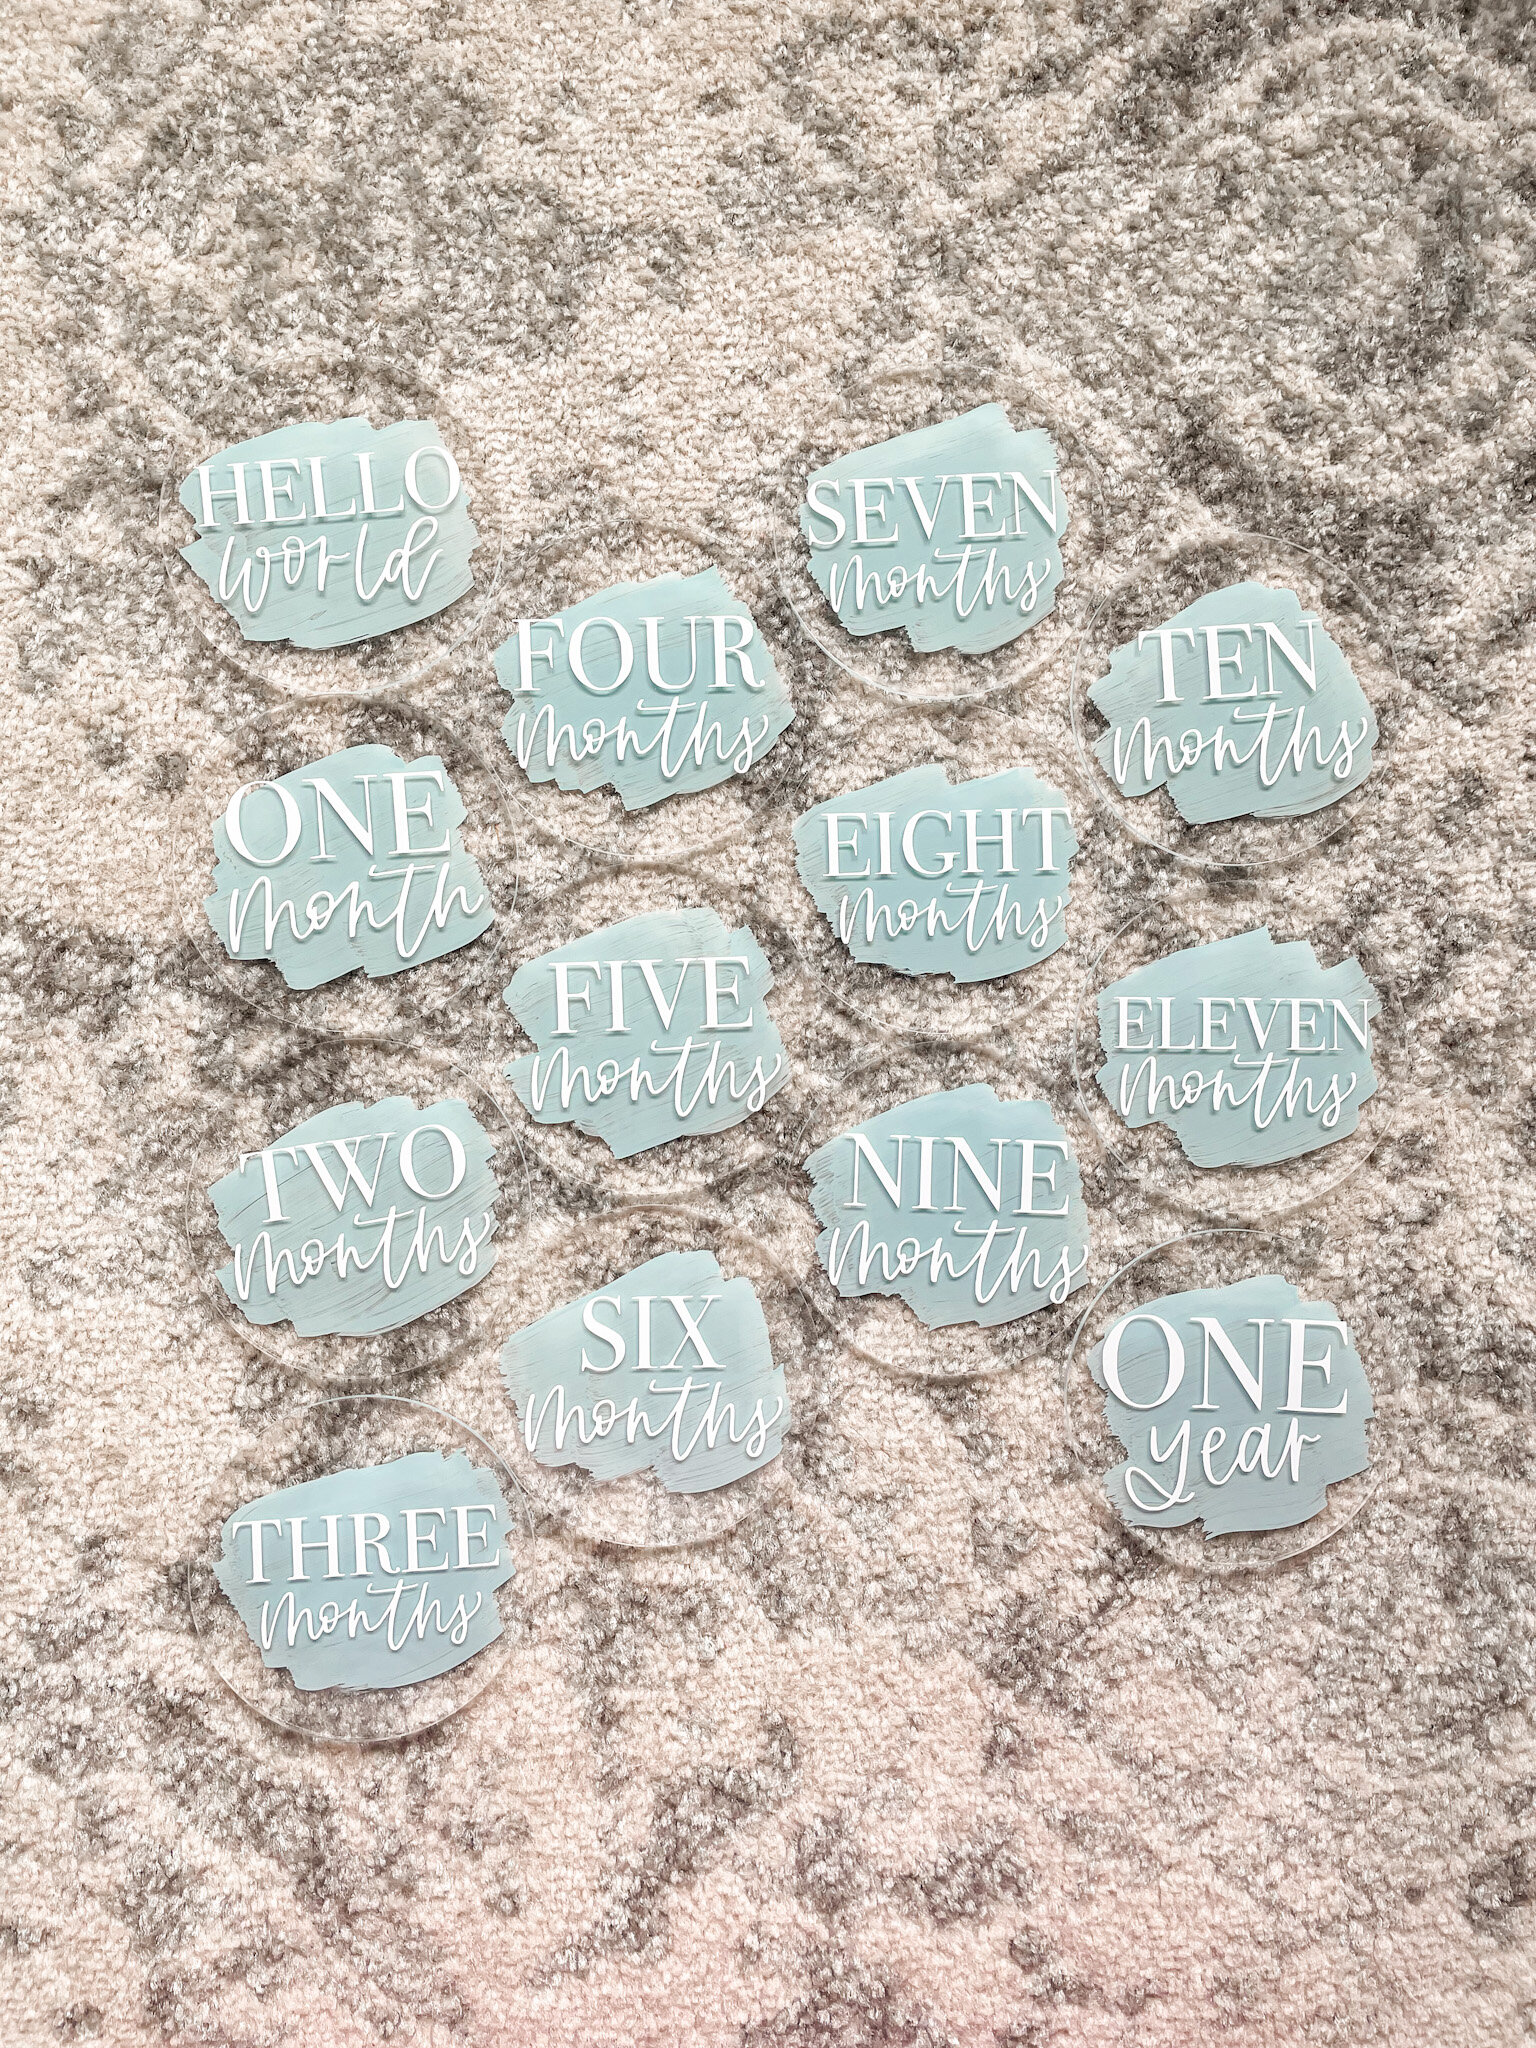
Click Here to grab my design if you haven’t already. It includes months 1-11, “hello world” and “one year”. You can also choose to make your own!


I designed my own set of hand lettered designs using the Procreate app on the iPad and my Apple Pencil. I have a workbook on how to design using the iPad and how to hand letter like a pro! You can also download my custom procreate lettering brush that I use for literally everything I design.
Once you’ve got your design all set, send it over to your computer as a PNG file. You can upload to Cricut Design Space next!
Step One: Design Space
Open up Cricut Design Space on your computer and upload the new designs. You’ll need to do it one at a time, but once they’re all imported you’ll have them forever! I’ll show you in a bit how to put them all on your Canvas together so that you can cut them all at once to save time.
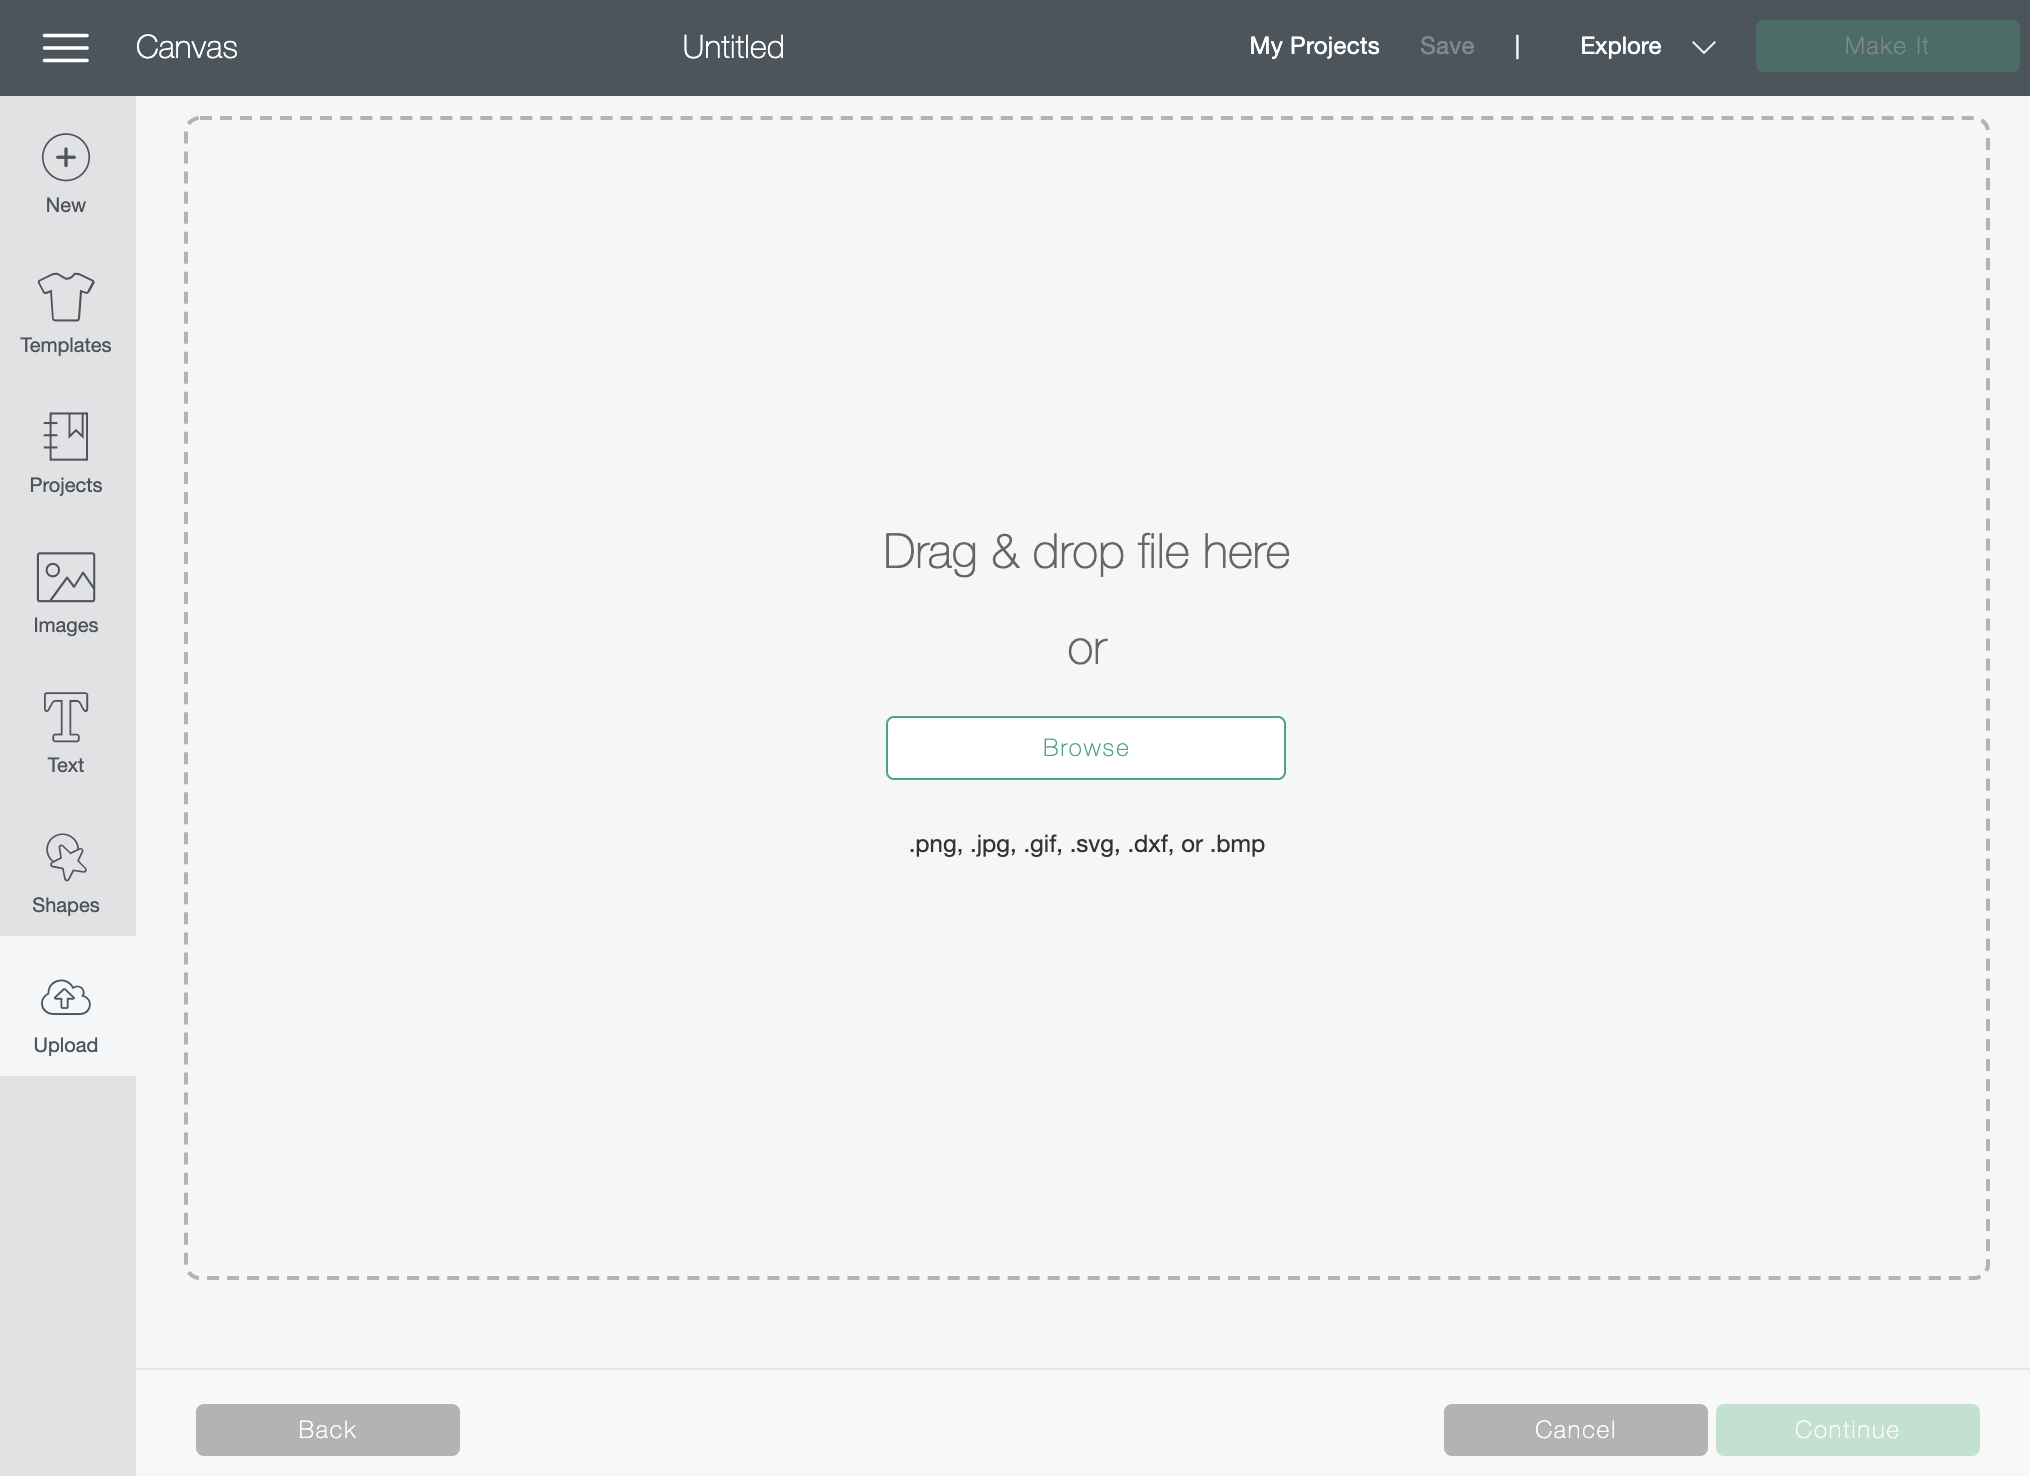

Drag and drop your PNG design into the box above and it will look like this below. Click Save.

Do this for the whole set of designs. You’ll be able to see them all in your “recent uploads” you can select all and import them into your Canvas together, or you can do them one by one. I’ll show you how to do one here.

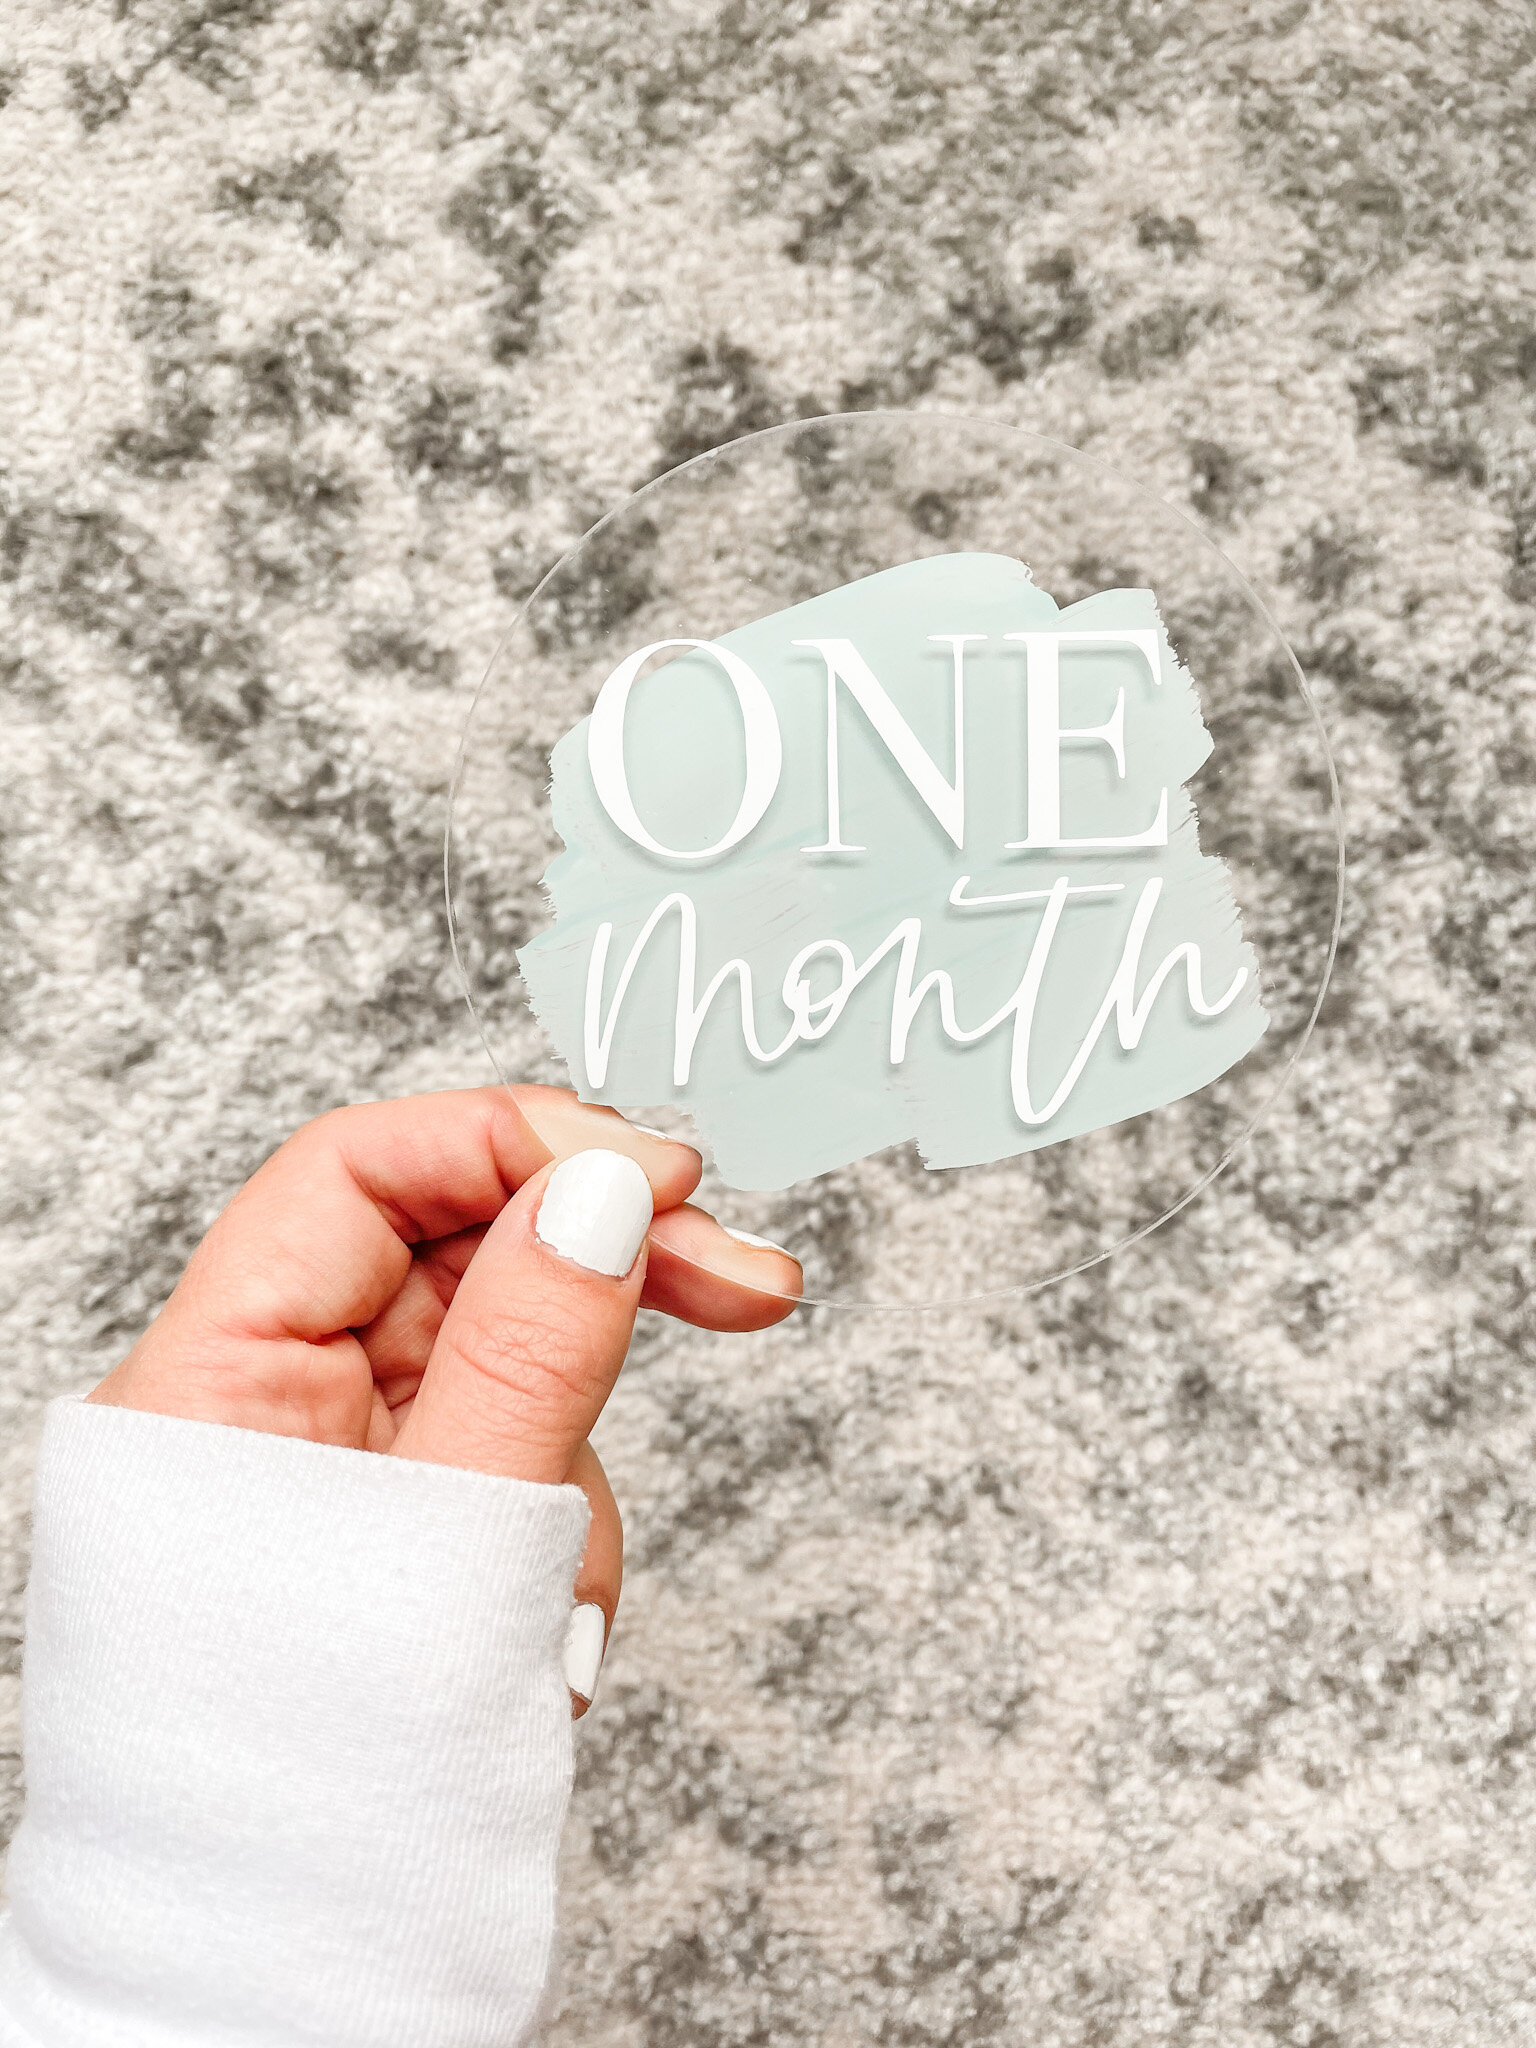
Now that you’ve got your design onto your Canvas, we’ll measure your acrylic discs to decide on the best size to use. Mine are 4” acrylic rounds, you can grab similar ones here.
Note: they should come with a backing that peels off to protect it — that’s why it’s not completely clear in this photo!

Since my rounds are 4” wide, I’ll do a design that’s about 3” wide. You can adjust your design on your Canvas by clicking and dragging the arrows on the bottom right side. The numbers on the Canvas are in inches, and they correspond with the numbers on your cutting mat that you’ll use with your machine.
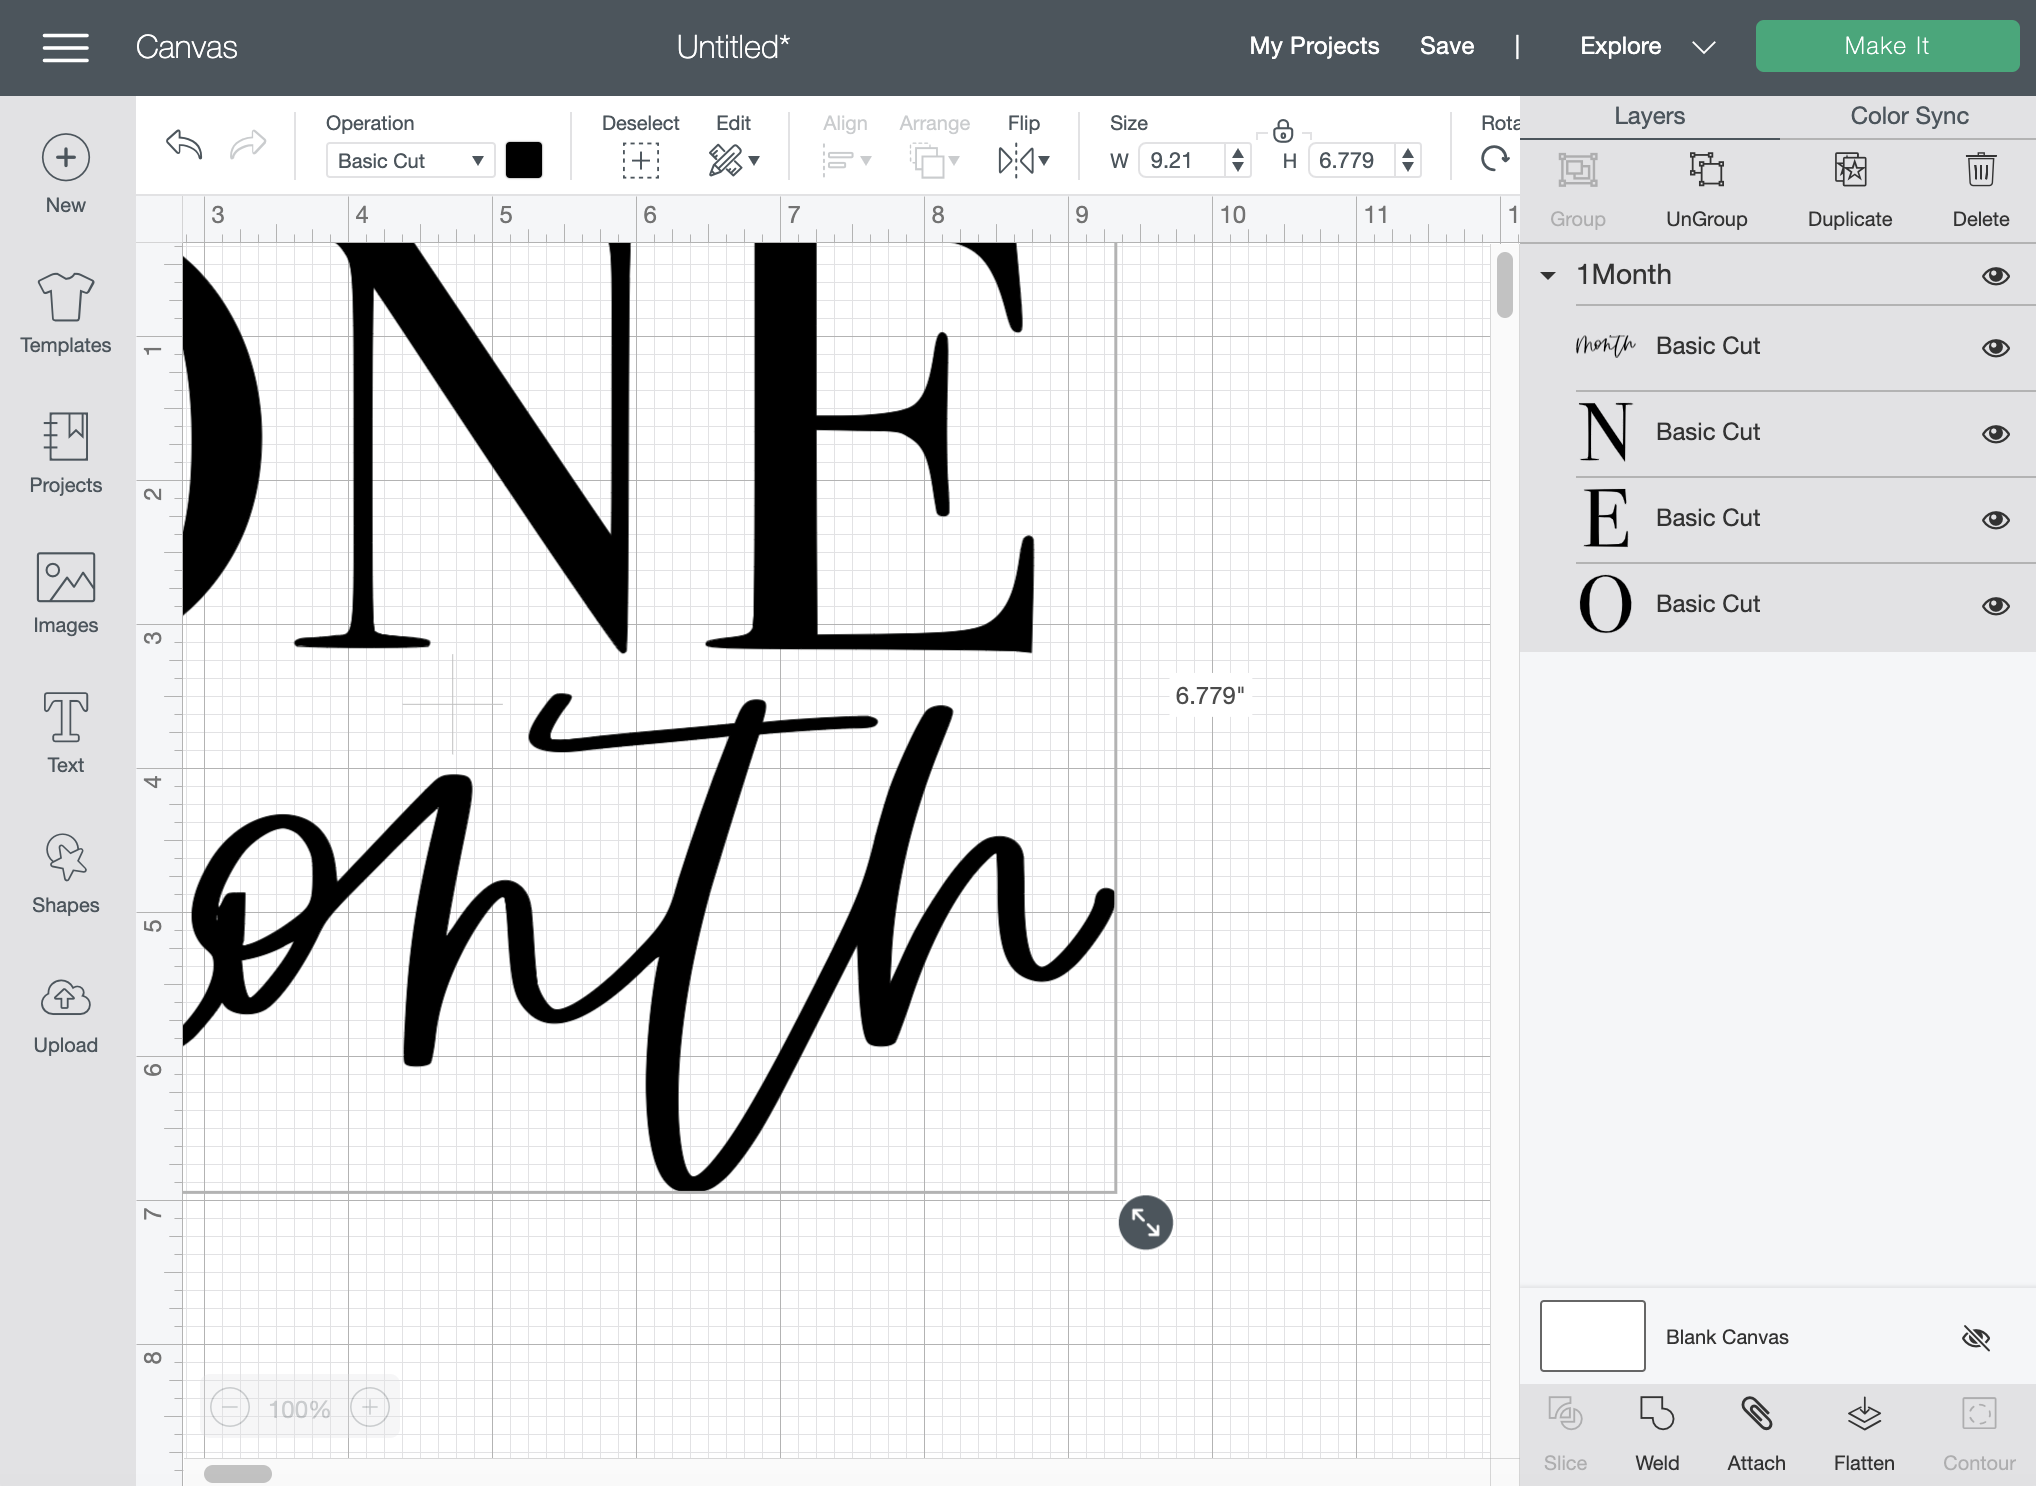

Now that my design is sized, we’ll cut! If you would like to place all of your designs on the mat together, simply import all of them to your Canvas here, and resize each to about 3” wide as well. Cricut will naturally puzzle piece them all together to maximize your vinyl use!
When you’re ready, click the green “Make It” button.

Step Two: Cut
This is where you’ll cut your vinyl and prepare your cutting mat. Reference the preview above to see how much vinyl you’ll need. I always overestimate by about 1” so I’ll cut a rectangle about 4” wide and 3” tall.


Click “Continue” on your computer, then load the cutting mat into your machine and click the “C” flashing logo. Watch your Cricut work her magic!

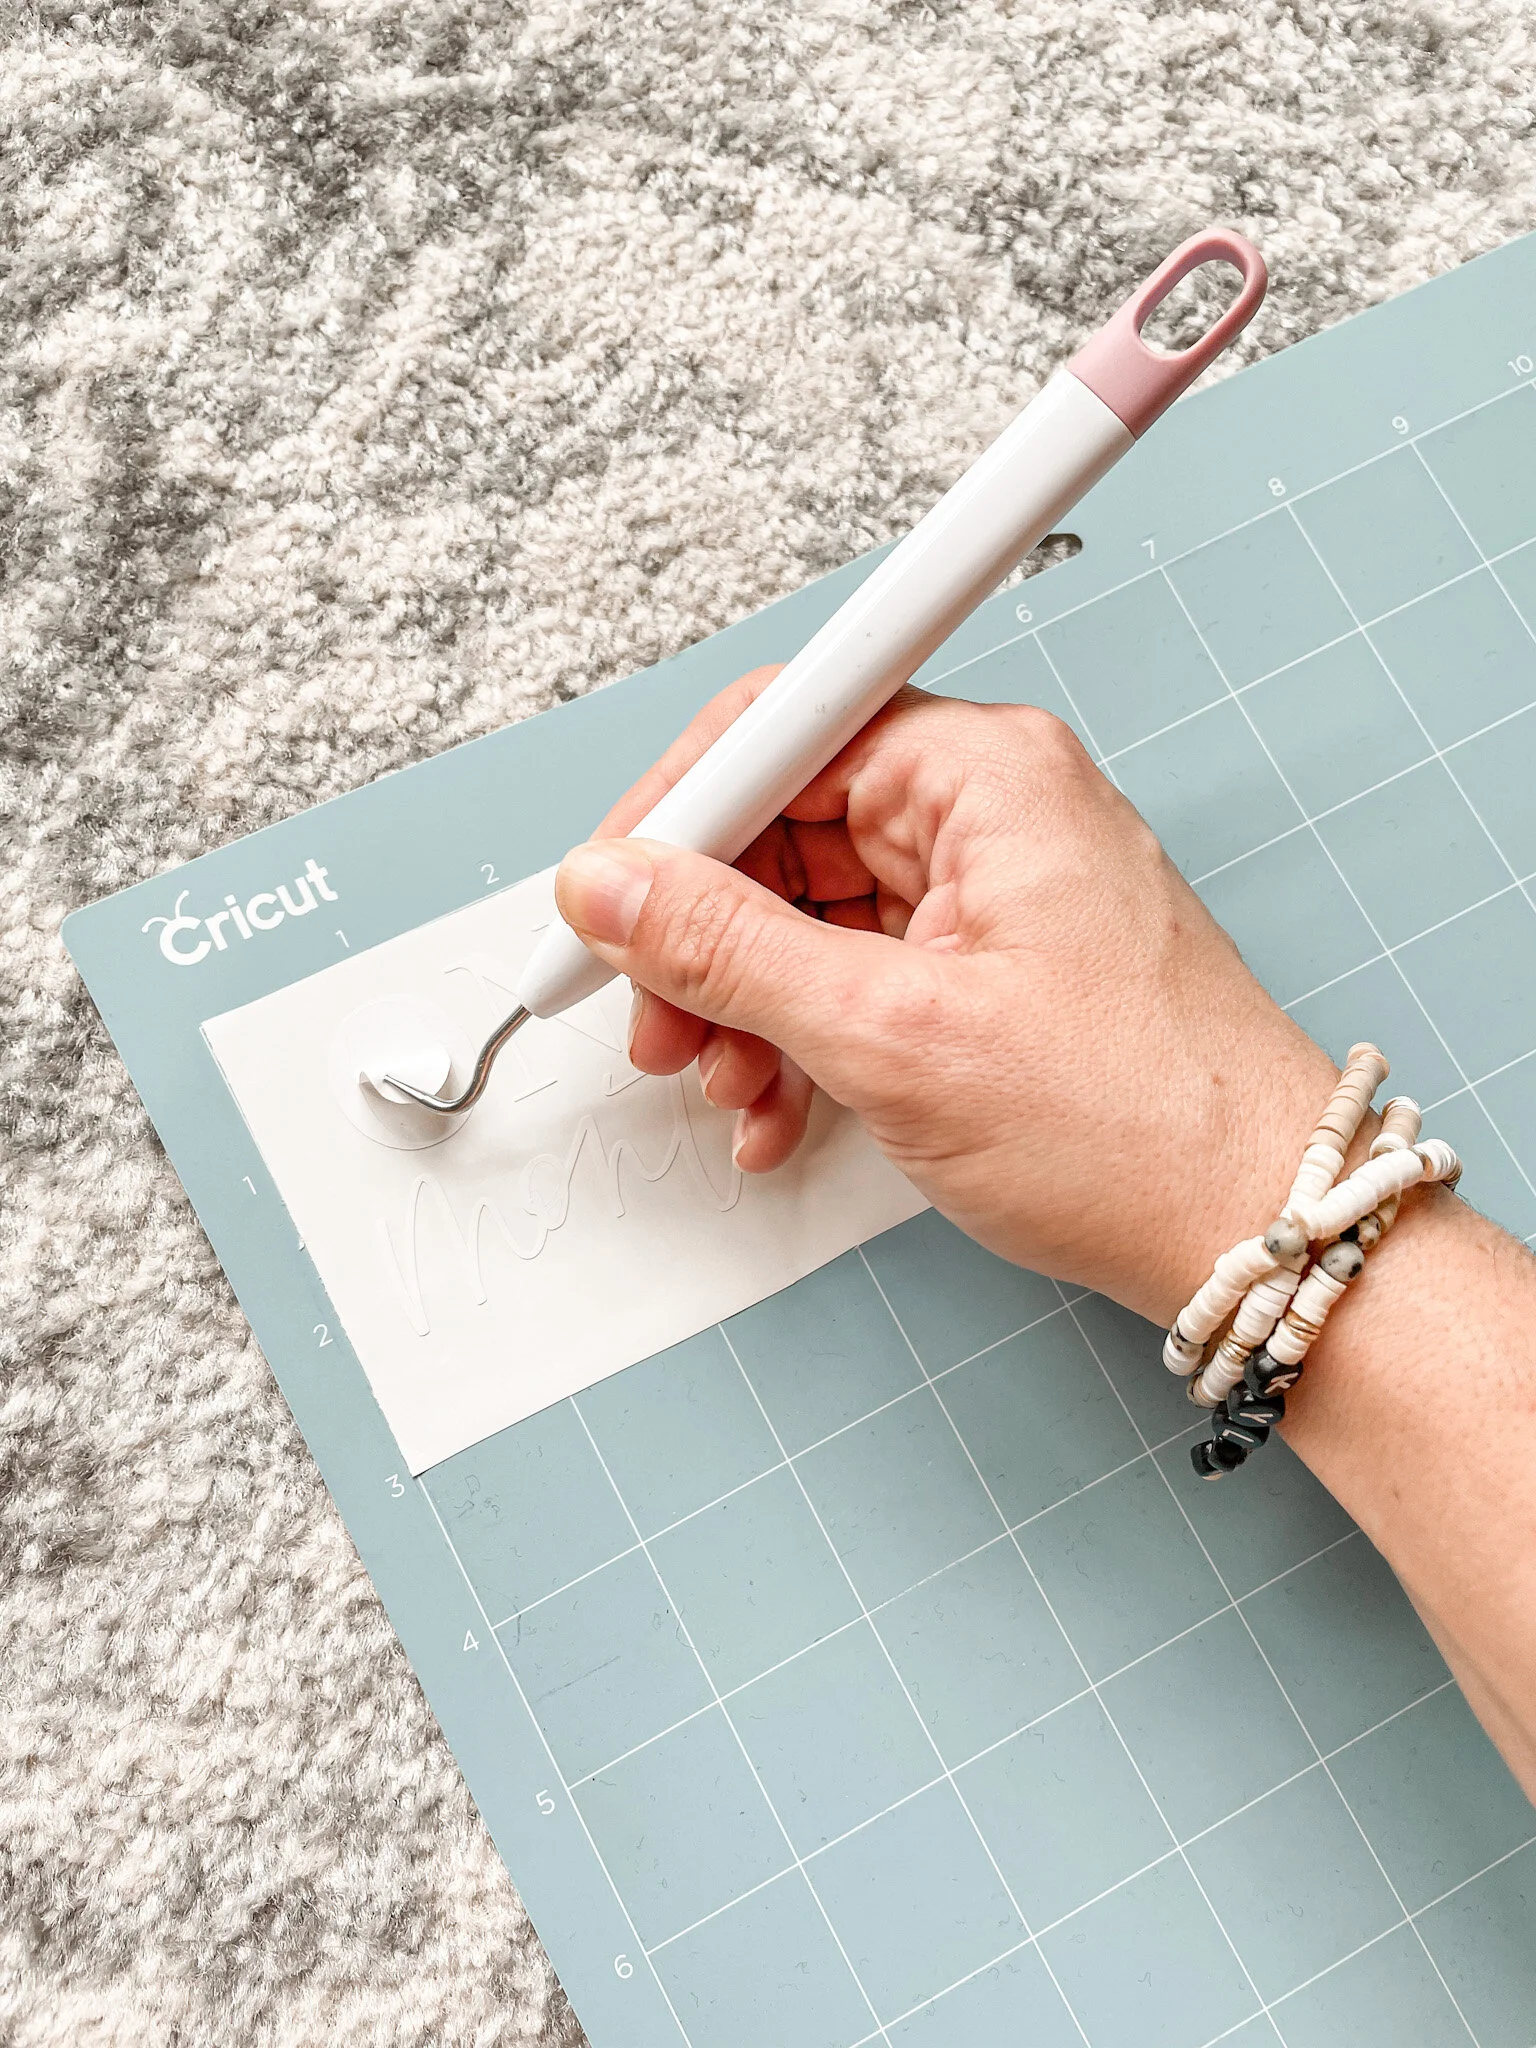
Step Three: Weed
Once it’s all cut, take your weeding tools and remove the extra vinyl around the design. Go nice and slow, especially inside the circles of letters.

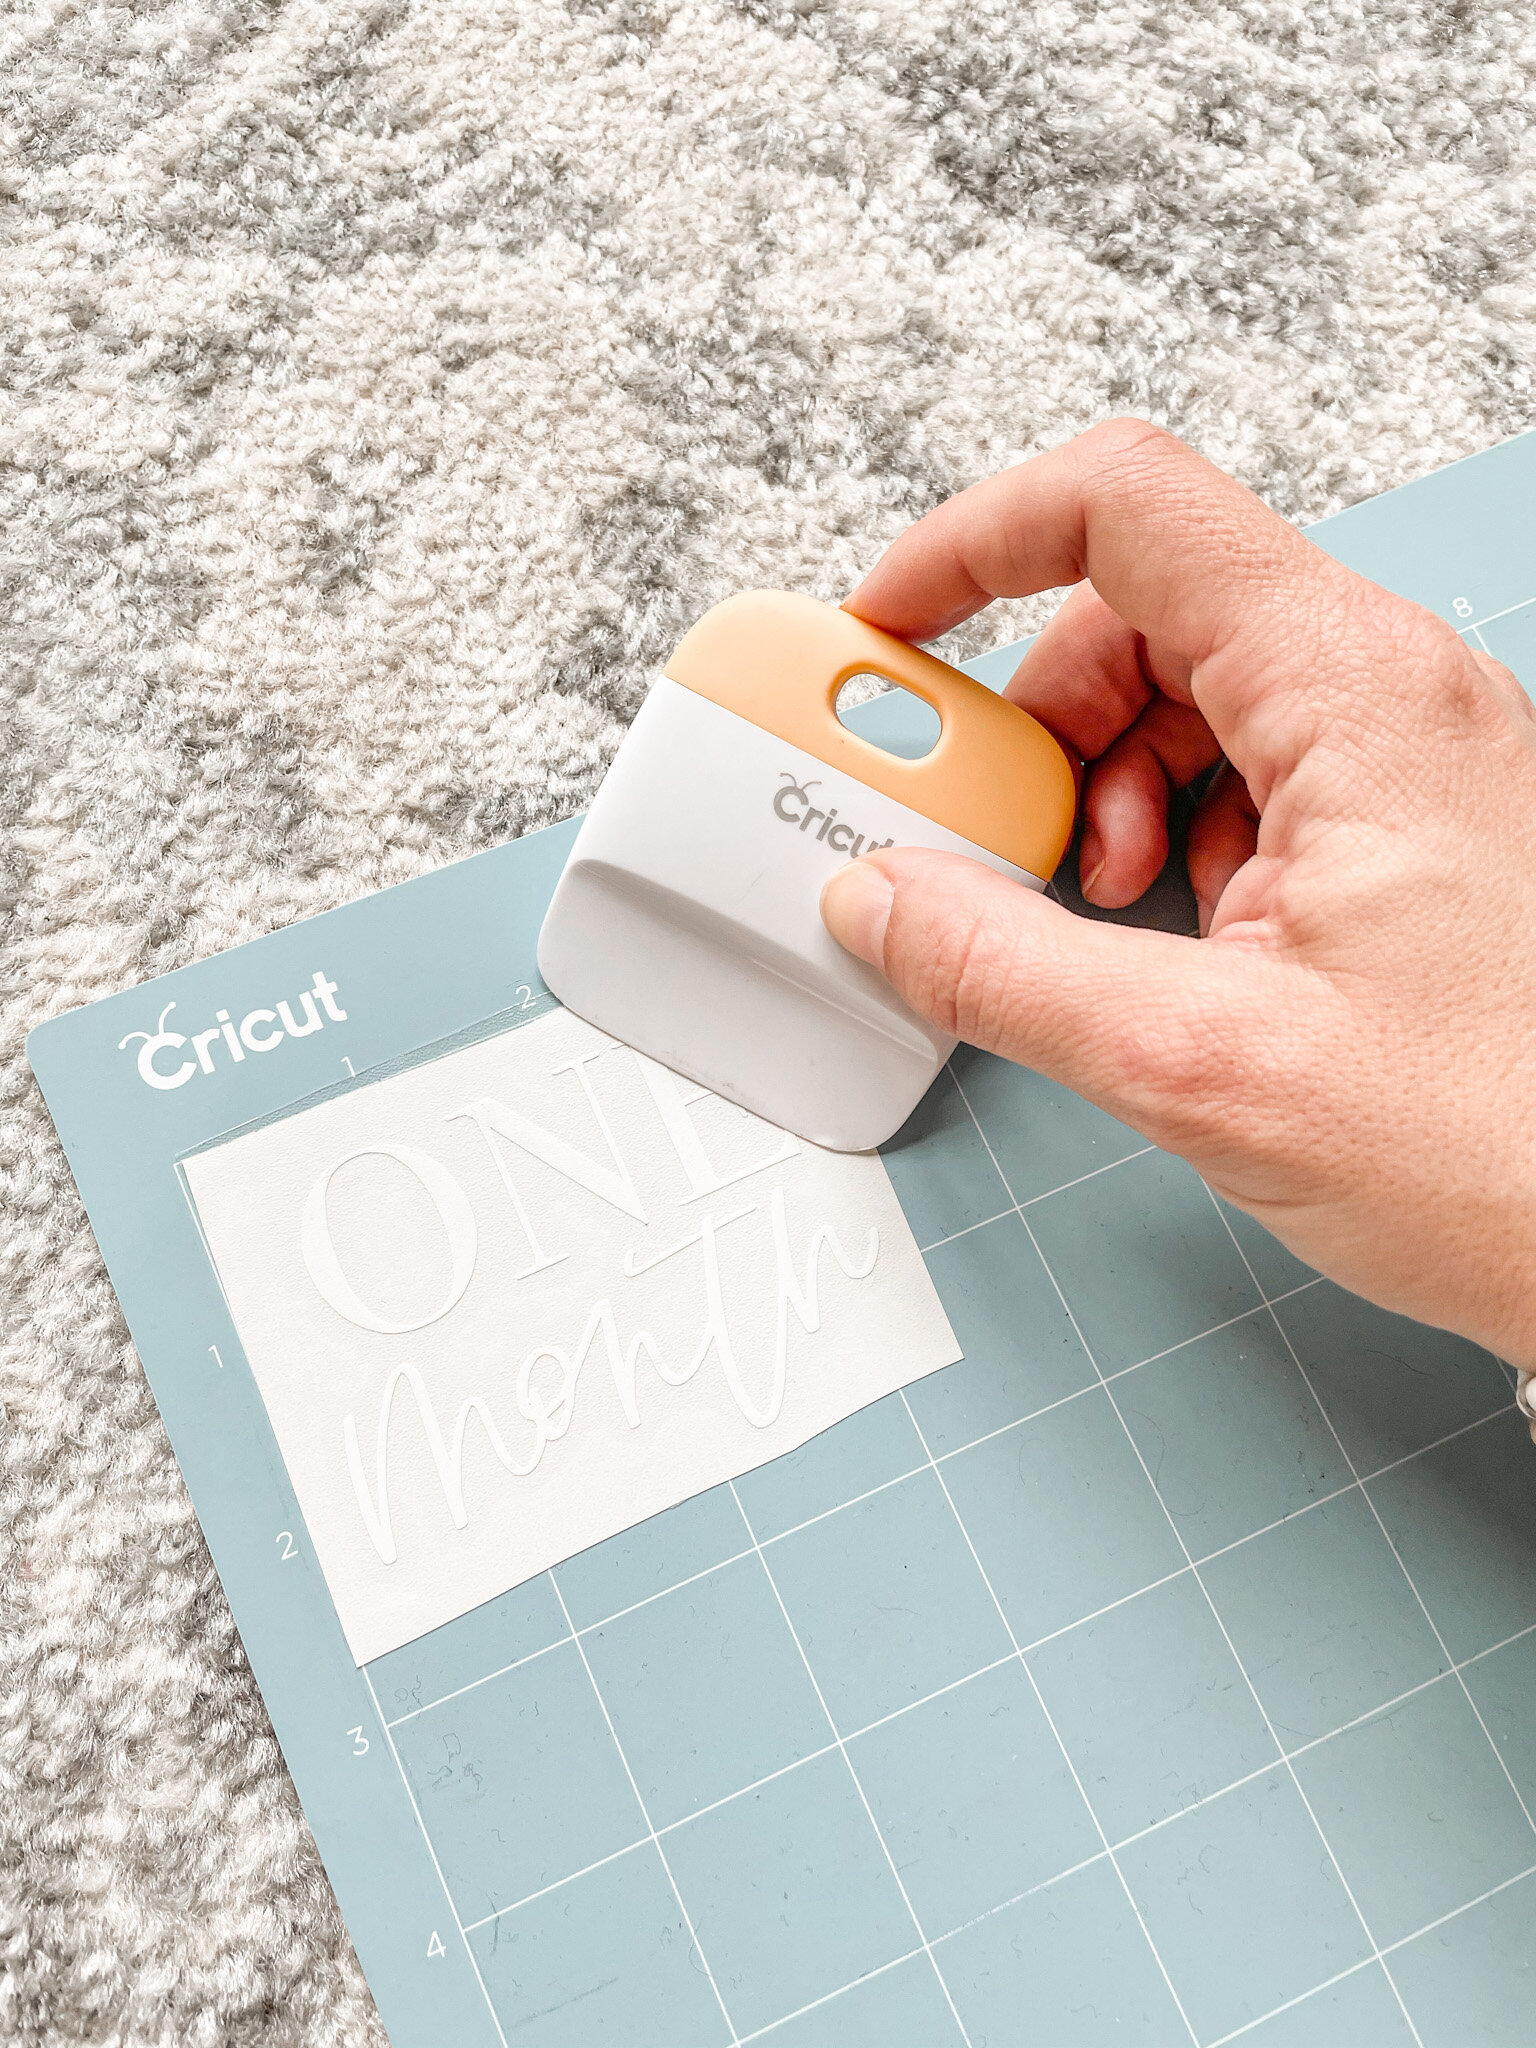
Once you’ve removed the extra vinyl, place a sheet of transfer tape on top of your design. Use your scraper tool to press down and make sure the transfer tape adheres to the design. If you’ve pressed firmly enough, your design should come right off with the transfer tape!


Place your design on your acrylic, and use your scraper tool to make sure it adheres well.

Peel back the transfer tape and protective backing on the acrylic, and you’ll be left with a beautiful crystal clear acrylic circle with your design on it! You can either leave it blank, or paint the back a color!


Step Four: Paint
I’m personally a fan of color, so grab your favorite acrylic craft paints and a brush and let’s get started! I grabbed all my materials at my local craft store.


Use your paintbrush to paint on the back side of the disc. I like to do a few thick strokes of color and move on to the next disc. To achieve a cohesive look, make sure all your brush strokes go the same direction on the discs.
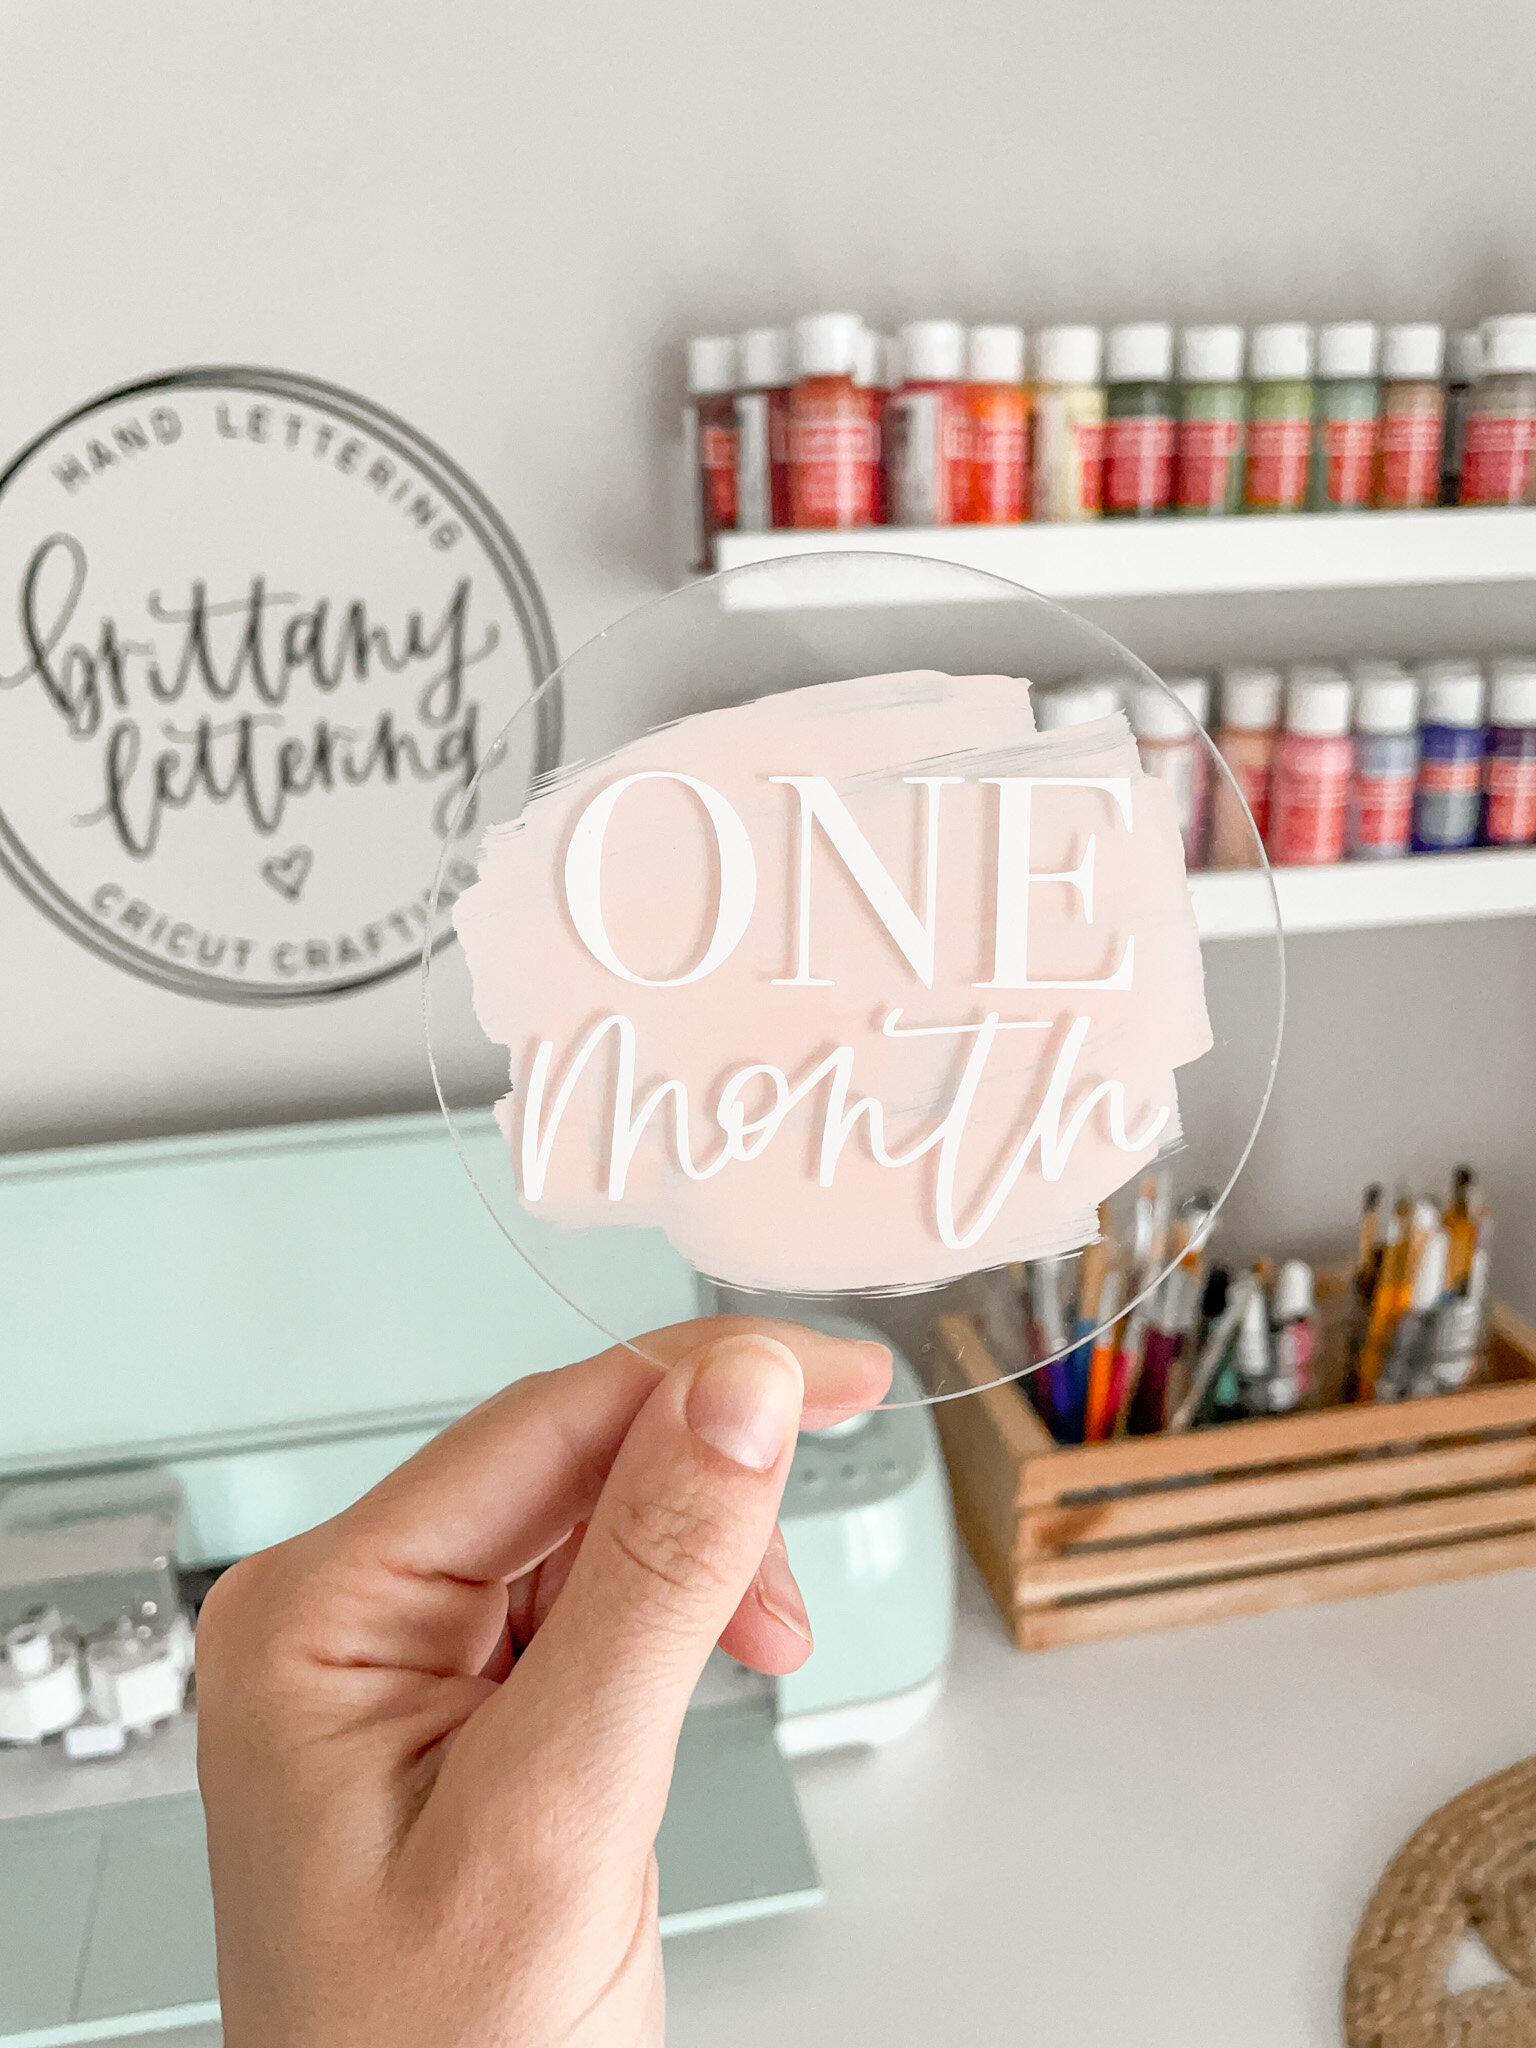
And there you have it! Now wrap these beauties with some tissue paper between each disc to prevent scratching. I like to use Washi tape on the sides and then tie them up with pretty string!
If you try this DIY I’d love for you to share a picture on social media & use the hashtag #brittanylettering! For more ideas, follow @brittanylettering, @officialcricut, and @myvinyldirect over on Instagram!
Be sure to head over to the Etsy shop to find even more fun designs for your projects!
Happy lettering & crafting!
XO Brittany
**this post contains affiliate links